Video guide – HTMLQueryResultView
This video will show how to create an HTMLQueryResultView.
The video will cover:
- How to navigate to the list of HTMLQueryResultViews and create a new one
- How to define a data source for a specific HTMLQueryResultView
- How to build and modify the HTMLQueryResultView
- How to add or modify parameters
- Different ways to publish and view your HTMLQueryResultView
- How to make graphical changes to enhance focus areas in the HTMLQueryResultView
Guide – HTMLQueryResultView
To create our first HTMLQueryResultView, we simply need to create our object.
Tip: An HTMLQueryResultView is normally called QRV in our internal dialogue and is frequently used by our customers.
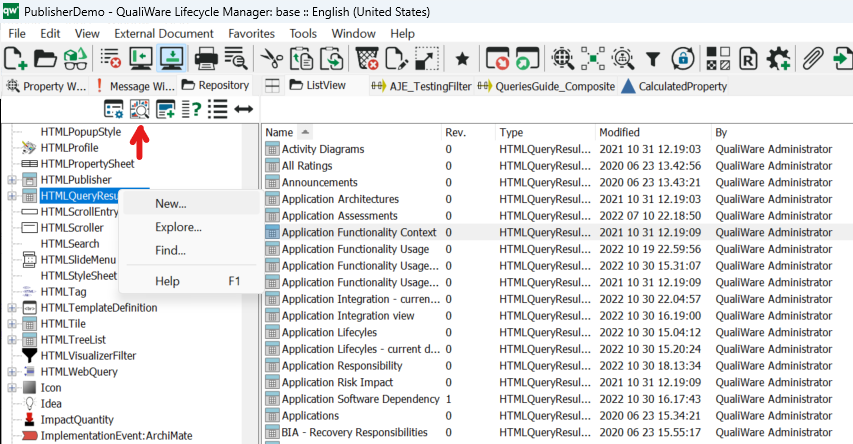
Visit the QualiWare Lifecycle Manager and click on the “Show All Templates”-button in the bottom top
Right-click on the object and select New.
Tip: While the object is still selected click on the List View – on the right side of the bottom top bar. This will show the object list we have in the right window, which makes it easier to navigate the many files.
In the list you will find a new QRV called: New HTMLQueryResultView.
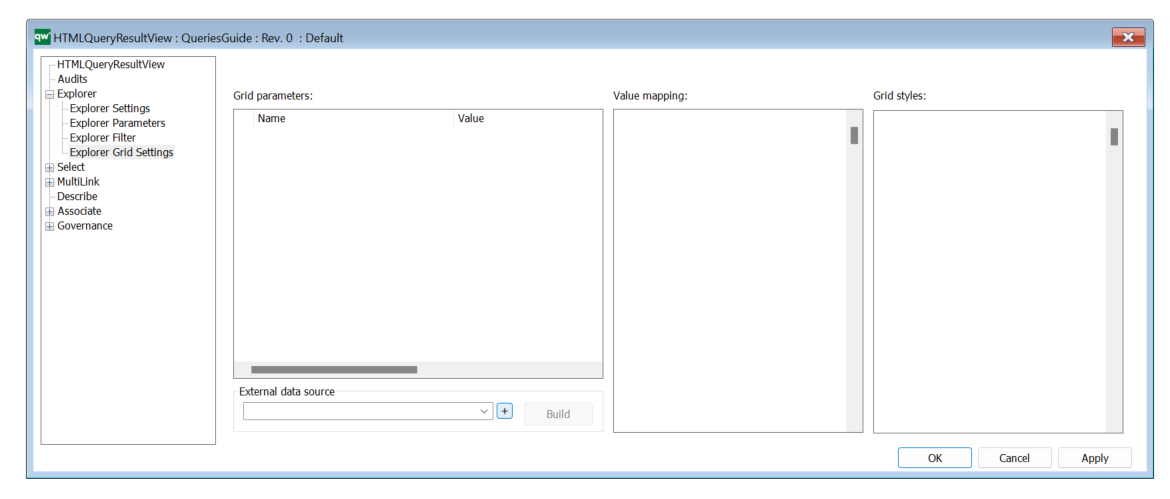
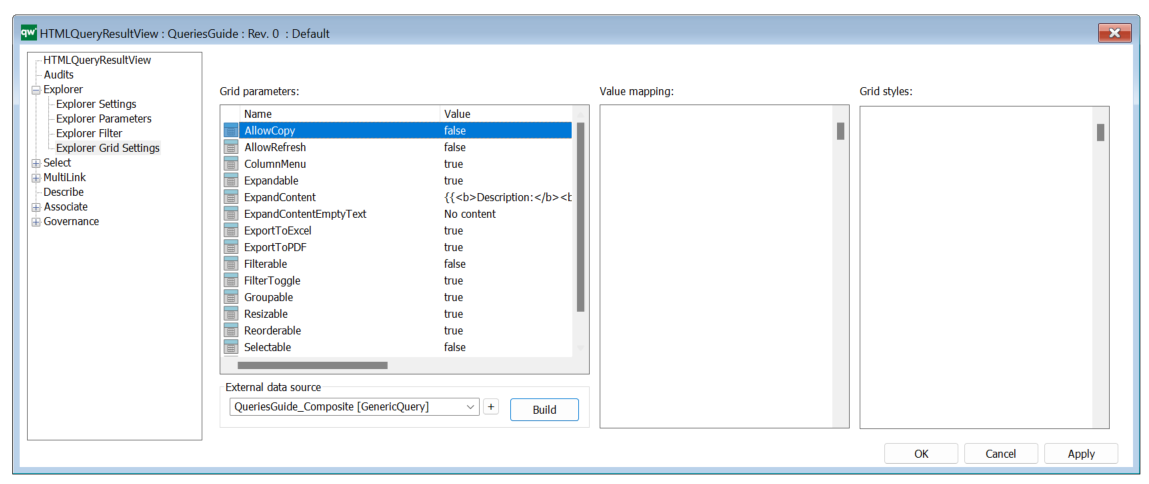
First, we rename it to uphold a structure in the naming scheme. A good practice is to have the same name for both the QRV and the QueryDesign. Open the object and you will be presented with the HTMLQueryResultView window. First, you will be directed to the Explorer Grid Settings.
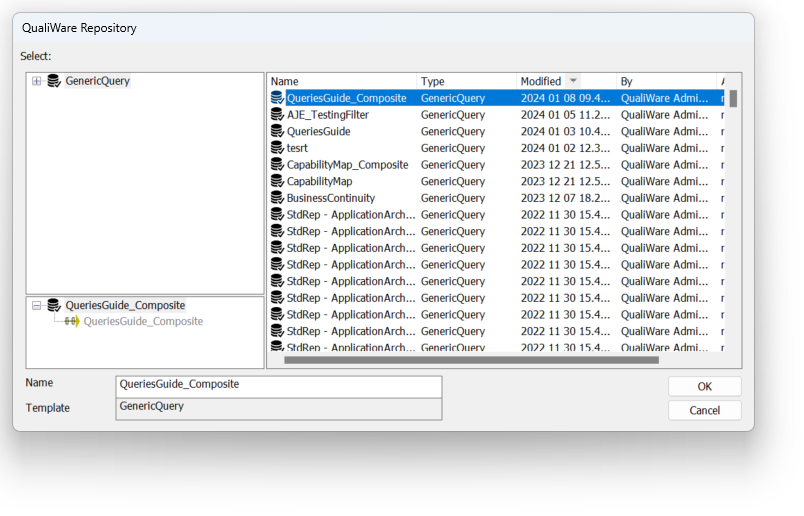
Here we link our previous query by using it as an external data source – click on the small plus sign next to the dropdown list to open a new window.
Tip: Sort by modified date to find relevant files easily.
As you can see in the image above, we have our composite query selected, and we can now proceed to the next step. We will be sent back to the previous window, but now with the correct query selected in the dropdown. Note that the Build is no longer greyed out, as it is when we defined the Explorer Grid Settings.
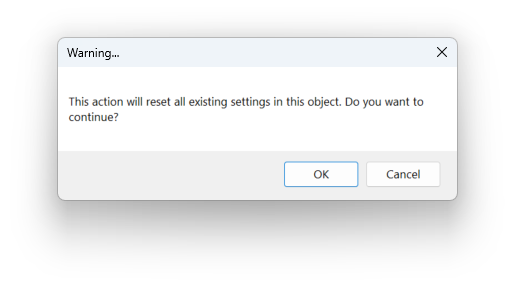
Now, we are ready to click on Build, and we will be prompted with this warning:
By default, we use the build button to define parameters based on the dataset. As you can see by going through the list, we have various examples such as allowing the QRV to be refreshed. Refreshing the page will reload the data, and this action is tasking the underlying database – especially if the size of the dataset is large.
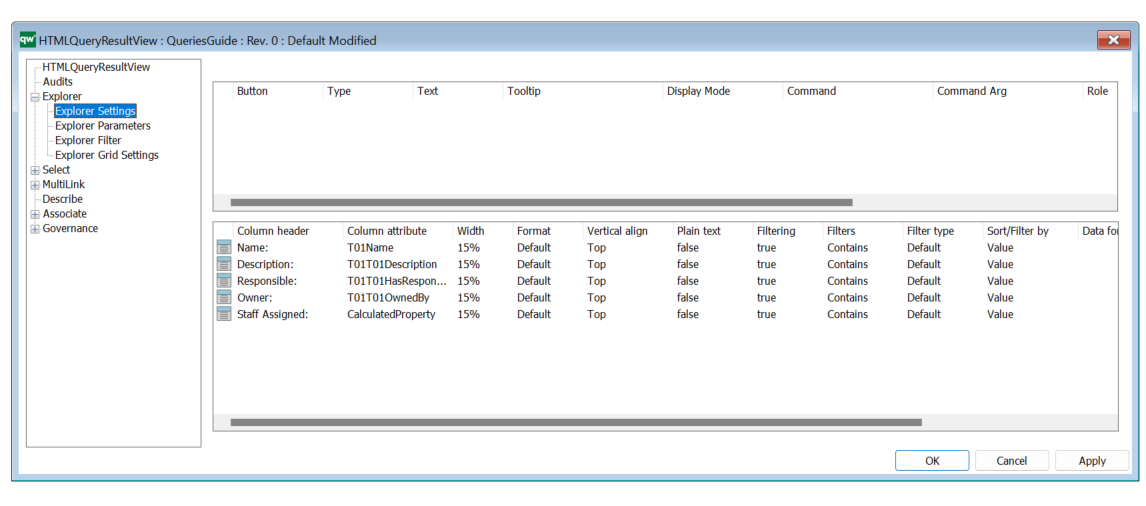
Let’s double check the dataset and verify the entries with the Explorer Grid Settings:
Note that we now have four columns in the lower window, which correlates perfectly with our CalculatedProperty from the last chapter. If you look closer at the values defined, you can see that the columns have various properties tied to them, such as name, width, sorting datatype and more. Click Apply and close the window with OK.
Tip: Hold ALT and click on a property to change it.
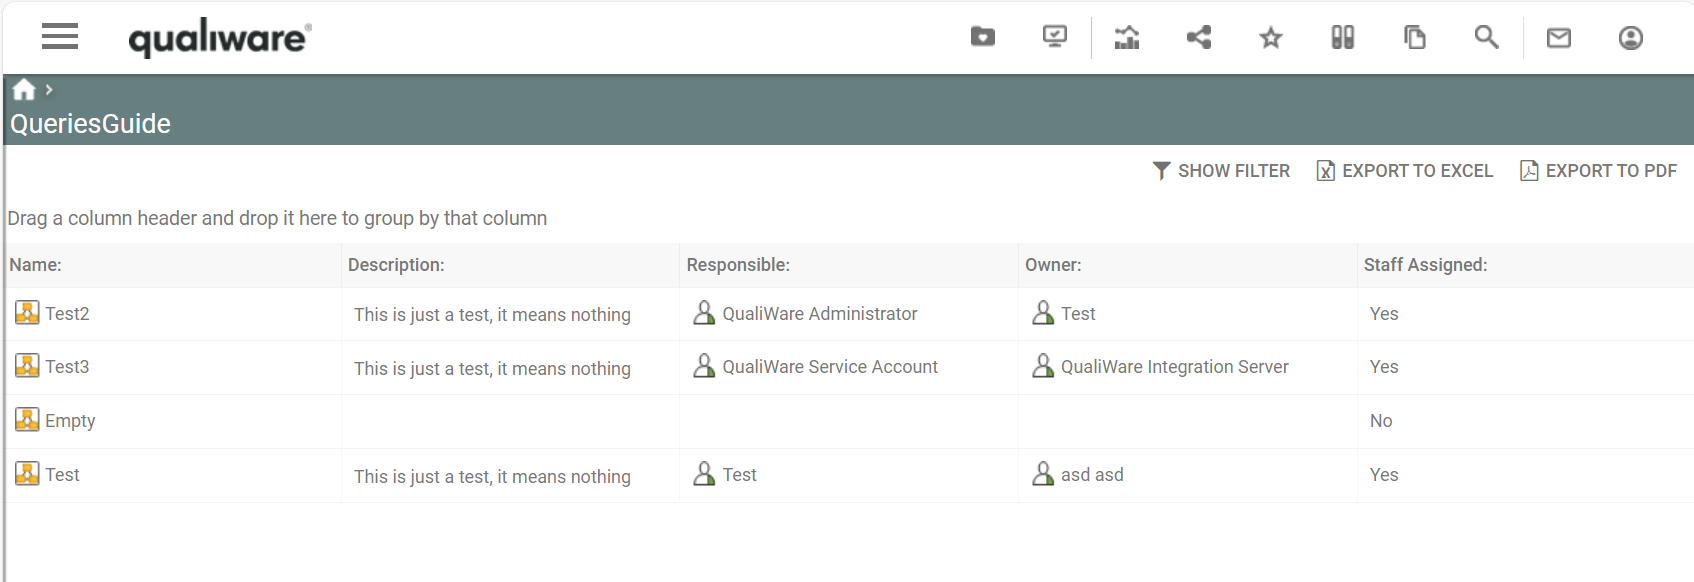
Now you can view the object in the front end.
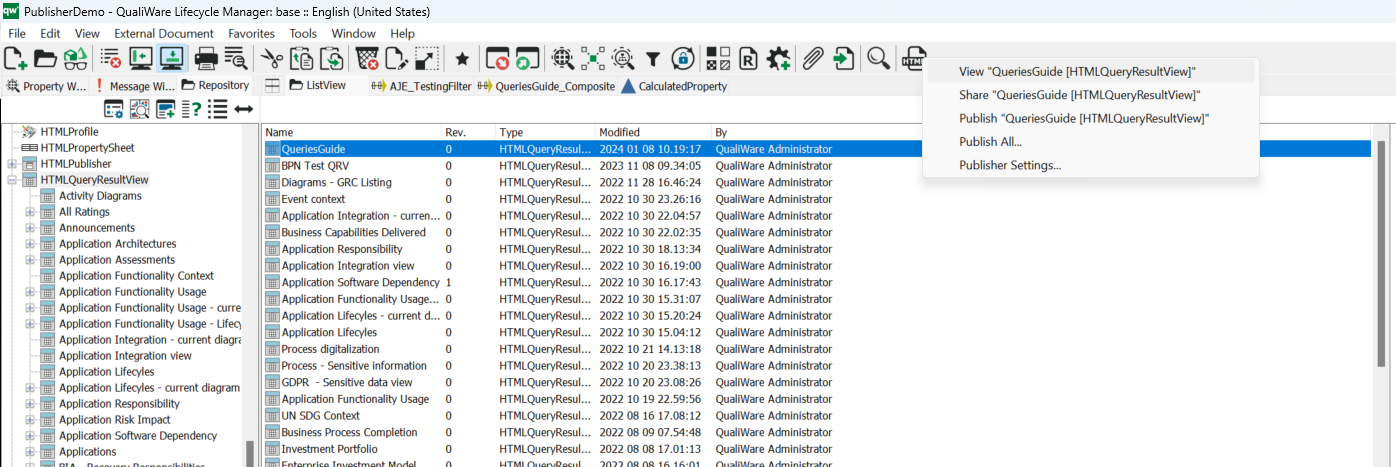
Tip: Select the object and right-click on HTMLPublisher to get the “View <object>” option. You may need to publish the HTMLQueryResultView first to make it visible.
QualiWare Lifecycle Manager will now open your default browser with the link to your QRV. The link syntax will be the following: <Domain>/<Repository>/?oid=<ObjectID>&cid=<ConfigurationID>
You’ll be presented with our collected dataset, and we can navigate, sort and highlight various elements as needed, while easily share the data within the organization.
Tip: Test the intended sorting of the various columns, as the datatype may need to be defined manually for it to work – as seen when we verified the attributes and their settings.
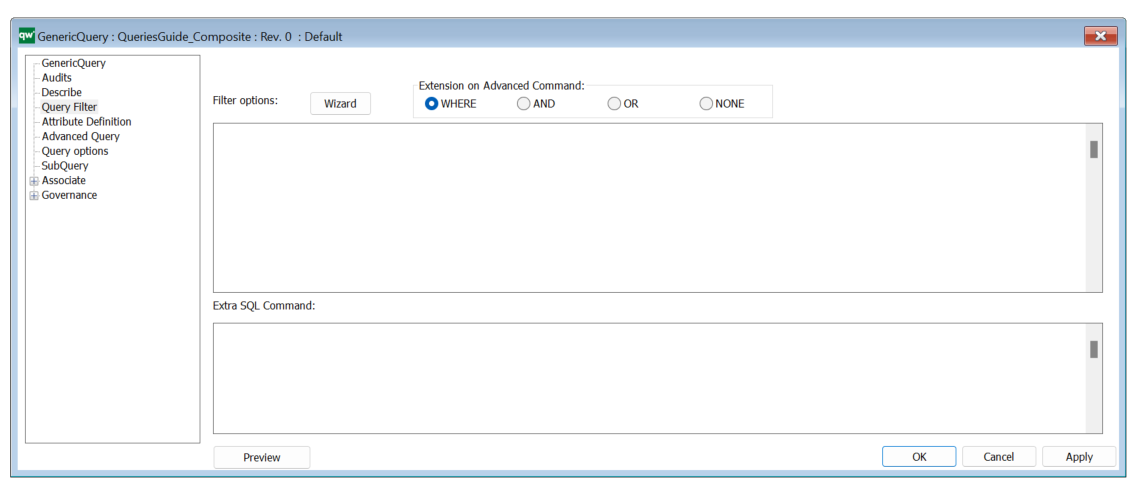
If you need any default filtering on your presentation, this is done with an Extra SQL Command. You’ll find this inside the GenericQuery settings. To open this, you’ll need to right-click or double-click on the play button in the query designer.
This will open the GenericQuery settings, where you’ll find the page Query Filter:
Here, you are able to manually write complex filters or expand our Advanced Query with SQL commands if needed.
Tip: The filter wizard is located at the top and will open the Filter Designer, as we have demonstrated earlier in Chapter 3.1.
In the bottom text field, we have an Extra SQL Command. This command can be used to write a complex expansion of our initial query, but for normal use cases, it’s used for ordering our data.
Let’s go over the different approaches in ordering data with SQL:
| Ascending Order (Default): This arranges the result set in ascending order based on the specified column. |
ORDER BY column1; |
| Descending Order: This arranges the result set in descending order based on the specified column. |
ORDER BY column1 DESC; |
| Sorting by Multiple Columns: This sorts the result set first by column1 in ascending order and then by column2 in ascending order. |
ORDER BY column1, column2; |
| Sorting by Multiple Columns with Different Orders: This sorts the result set by column1 in ascending order and column2 in descending order. |
ORDER BY column1 ASC, column2 DESC; |
| Sorting by Expression: This sorts the result set based on the expression result. |
ORDER BY column1 + column2; |
| Sorting by Alias: This sorts the result set based on the alias name assigned to a column. |
ORDER BY alias_name; |
| Sorting NULL Values: This places NULL values at the beginning when sorting in ascending order. |
ORDER BY column1 ASC NULLS FIRST; |
| Sorting NULL Values Last: This places NULL values at the end when sorting in descending order. |
ORDER BY column1 DESC NULLS LAST; |
Tip: Sorting a linked object will cause some issues, as the linked objects is wrapped with the HTML syntax for links. To work around this, we need to use the embedded Q-SQL function, that account for the wrapping. To use this, the attribute must be wrapped with a GetLinkName(<Attribute>) function.
The order command would then be: ORDER BY GetLinkName(<Attribute>)
