The GovernanceStateFeature placed on the GovernanceState contains all related buttons on the web for that particular GovernanceState in a GovernanceWorkflow.
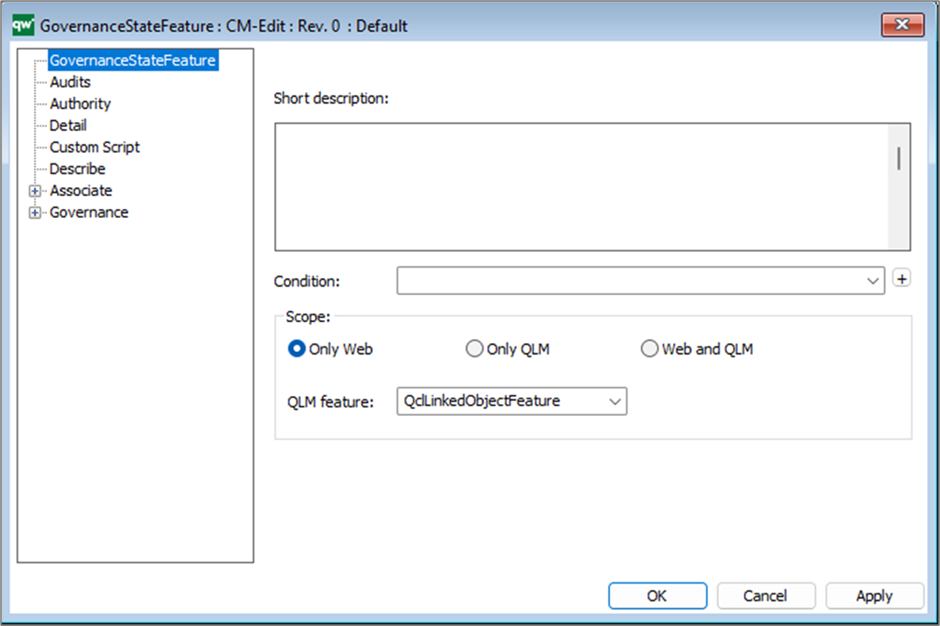
Short description: Here you give a short description of the GovernanceStateFeature. This should be able to give the reader an overview of the Feature.
Condition: Should some condition (GovernanceBoolMethod/List) be true before the feature can be used/is visible.
Scope: Where does the feature apply – Only Web or QLM or both?
QLM feature: If you want a feature to be available from QLM and web (or just QLM) you need a corresponding QCL code.
Governance State Feature – Authority
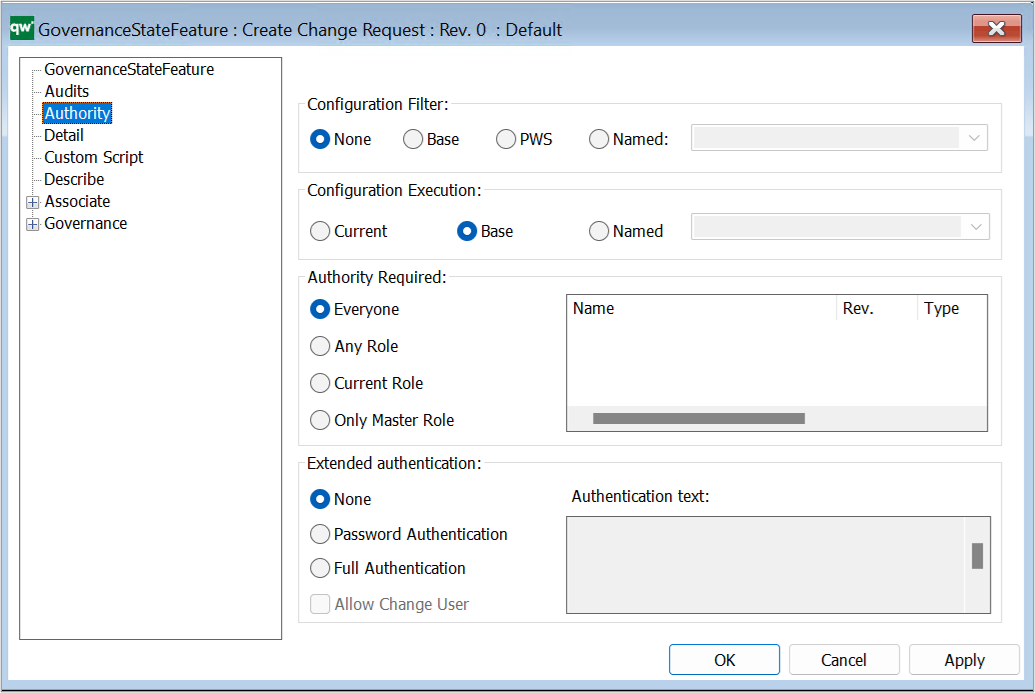
Configuration filter: You can filter on which configuration it is possible to do the transition. Base Configuration, PWS or a named configuration (this shows a list of your configurations).
Configuration execution: This makes it possible to have the transition be carried out in another configuration than the one where the transition is triggered. This can for example be used when you want the development of a process to be done in a private workspace and only have approved processes visible for the whole organization.
Authority Required: Not all users should be able to interact with all GovernanceTransitions and GovernanceStateFeatures. The options for Authority Required helps configure which level of authority the user should have in order to execute a transition or feature.
- Everyone (Everyone authorizes everyone to do the transition.)
- Any Role (Any Role means any GovernanceRole related or included in the GovernanceWorkFlow.)
- Current Role (The default authority is the Current Role. This is the governance role that the state the transition is coming from is inside.)
- Only Master Role (Only Master Role is the role you set on the GovernanceWorkflow, and you can also specify other specific roles together with the master role in the list next to the authority levels.)
Extended authentication: If extended authentication (‘digital signature’/login) is required, then it can be enabled:
- None (No extended authentication)
- Password Authentication (A login box with password is shown)
- Full Authentication (A login box with full authentication is shown)
- Allow Changed User (If the “Allow change user” is also enabled, then a login box with both user name and password is shown)
Authentication text: Is for writing a descriptive text associated with the login window.
Governance State Feature – Detail
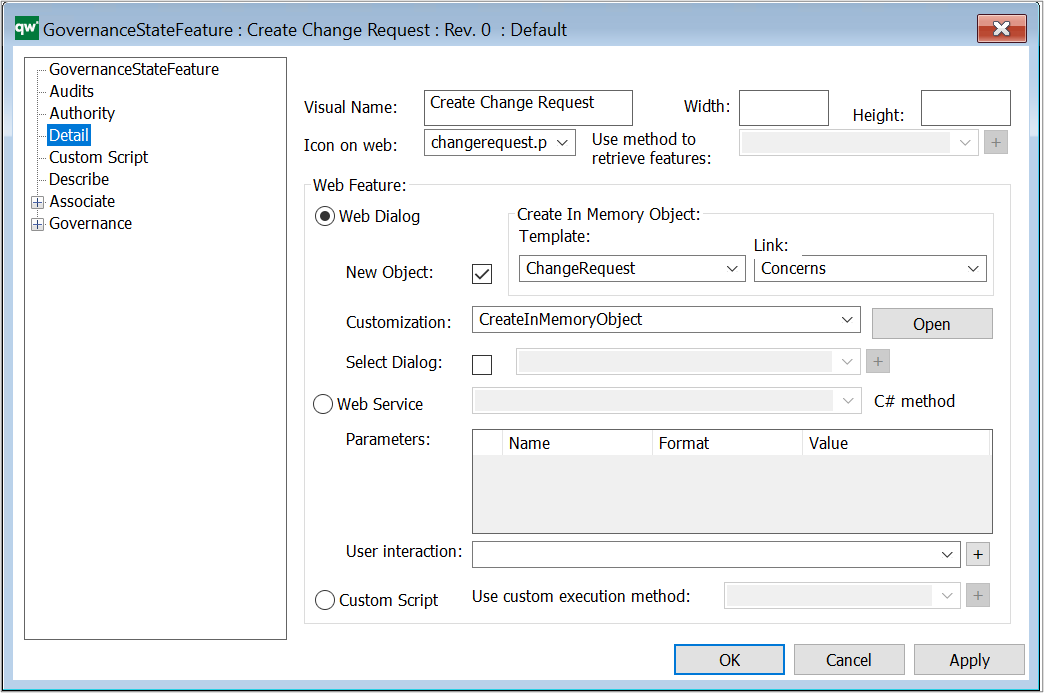
Visual Name: This will be shown as the name of the button. If this is not defined, then the name of the GovernanceTransition object will be shown instead.

Please consider how the text is formulated to help the user to know what will happen when the button is clicked.
Icon on web: An icon to show on the button. An icon can be a helpful indicator to a sighted user about what will happen on clicking the button.

Web feature: These options will define what happens when the user clicks the transition button in the web interface.
Web Dialog: Use this option for when a webform is needed during a transition. The webform will only be able to handle the current object.
- New Object: When checked, a new object will be created. When not checked, the current object will be opened for editing.
- Create In memory object:
- Template: Used in combination with the New Object checkmark. Specifies the Template to use for the new object.
- Link: Used in combination with the New Object checkmark. Specifies how the new object will be link to the current object.
- Customization: Use this to define which HTMLDialogLayout will be used for the webform to be opened. If left empty, the default HTMLDialogLayout or metamodel defined webform will be used.
- Select Dialog: If checkmark is checked, it is possible to link a specific HTMLDialogLayout to be used for the webform, without using customization. It is recommended to use customization for defining HTMLDialogLayout.
Web Service: This is used when you want the transition to run.
Custom script: When this is enabled, you will be able to write custom JavaScript code to be run when doing the transition. (N.B. This should be used with caution.)